Posts

Assignment 3: Reflection

Image
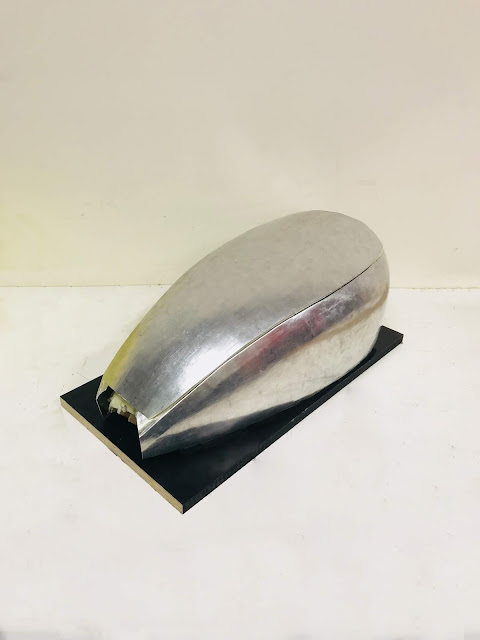
Reflection On Fuel Tank Project The entire Assignment 2 crafting progress can be found under the link over here.  BEIL0014 Digital Making -- Assignment 2 Project: The 1:1 Scale Fuel Tank Review On Stage 1: 3D Model & Assemble At the step when we import our 3d fuel tank model into Autodesk Slicer to prepare our fuel tank template for laser cutting, we all discussed at that time that we need to make more rigid and harder surface of tank template to hammer and shape the metal on the template. Shape the metal piece on the tank tamplate The method we chose at that time is to build the model using total 26 slices on both axis, which means 13 slices on horizontal X and 13 slices on vertical Y. We thought total 26 slices for the tank template is stable and solid enough, but we did not create the shell of the tank. As a result, some template frames was snapped off when we hammer the metal piece on it, which will be out of the shape and become inaccurate. Af

Assignment 2 Project: The 1:1 Scale Fuel Tank

Image
Step 1: As a team consisting of 10 multidisciplinary members, we will create a 1:1 scale plywood template first, replicating an existing motorcycle fuel tank and then divide it into thirds. As individuals we will apply our skills learned from the previous assignment and create an aluminium skin to adhere to our third of its contours. In our first group meeting, we decided to choose the fuel tank by Andrew Wallace for this assignment and downloaded its digital model on Moodle. We exchanged everyone’s abilities and ideas of how to create the perfect template of the fuel tank that can help us approach this assignment in the best way. So we all agreed we create the strong and rigid template of the fuel tank together, and using the template’s surface to create the aluminium skin by using the hammer forming skills from the previous assignment. We prepared the 3d model of the fuel tank by Andrew Wallace in 3DS MAX and import it into Autodesk Slicer for Fu